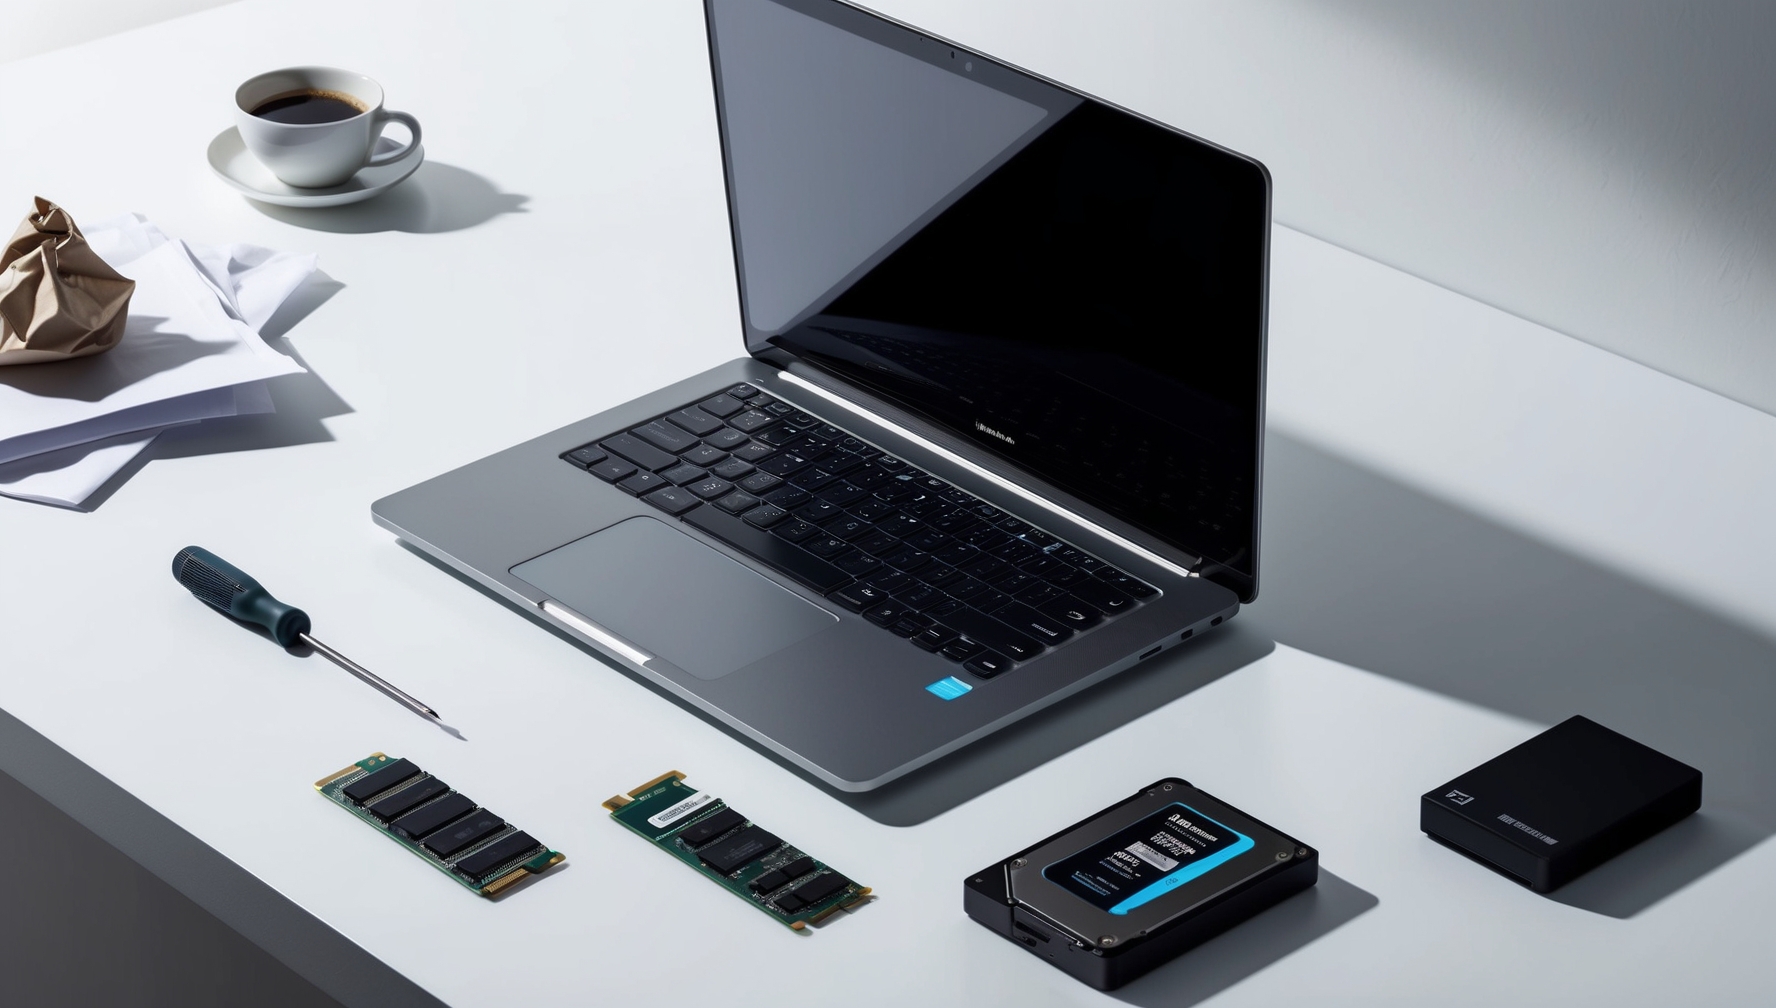
How to Upgrade Your Laptop’s Storage: A Step-by-Step Guide
Upgrading your laptop’s storage can significantly improve its performance and provide additional space for your files, applications, and media. Whether you’re transitioning from a traditional Hard Disk Drive (HDD) to a Solid-State Drive (SSD) or simply increasing your storage capacity, this guide will walk you through the process step by step.
1. Assess Your Current Storage Needs
Evaluate Storage Capacity
Before upgrading, determine how much storage you need. Check your current usage and consider future needs. If you’re running out of space frequently, it might be time for a larger drive.
Choose the Right Type of Storage
Decide between HDD and SSD based on your needs. For a detailed breakdown, refer to an SSD vs. HDD comparison to understand which one suits your performance and budget requirements better.
- SSD: Faster performance, quieter operation, and more durable.
- HDD: Larger storage capacities at a lower cost.
2. Prepare Your Laptop
Backup Your Data
Before starting any hardware changes, back up your data to an external drive or cloud storage. If you’re looking for options, check out the best external hard drives available for reliable data protection.
Gather Tools and Materials
You’ll need:
- A compatible replacement drive (SSD or HDD)
- A screwdriver (usually Phillips-head)
- An external drive enclosure or adapter (for cloning)
- Cloning software (if transferring data)
3. Remove the Old Drive
Power Down and Disconnect
Turn off your laptop and disconnect it from any power source. Remove the battery if it’s removable.
Access the Storage Bay
Open the laptop’s case. This usually involves removing screws on the back panel. Refer to your laptop’s manual for specific instructions on accessing the storage bay.
Remove the Old Drive
Locate the current drive and carefully detach it. Disconnect any cables attached to it, then remove any screws securing it in place. Take out the old drive and set it aside.
4. Install the New Drive
Insert the New Drive
Place the new drive into the storage bay, aligning it with the connectors. Secure it with screws if necessary. Connect any cables or connectors to the new drive.
Reassemble the Laptop
Reattach the back panel of the laptop and secure it with screws. Reinsert the battery if it was removed.
5. Clone or Install Your Operating System
Clone Your Old Drive (Optional)
If you’re transferring data, connect your old drive to your laptop using an external enclosure or adapter. Use cloning software to copy your data and operating system to the new drive. If you need a more detailed guide on the process, check out resources on how to clone a hard drive. Popular cloning software includes:
- EaseUS Todo Backup
- Acronis True Image
- Macrium Reflect
Install a Fresh Operating System
If you prefer a fresh start, you can install a new operating system on the new drive. Create a bootable USB drive with the OS installation media and follow the on-screen instructions to install it.
6. Configure and Test Your New Drive
Check for Recognition
Boot up your laptop and ensure that the new drive is recognized. Check the drive’s capacity and make sure it’s functioning correctly.
Update Drivers and Firmware
Ensure all drivers and firmware are up to date for optimal performance. Visit the laptop manufacturer’s website to download any necessary updates.
Restore Your Data
If you cloned your old drive, verify that all data and settings are intact. If you performed a fresh install, restore your files from your backup.
Conclusion
Upgrading your laptop’s storage can enhance its performance and provide more space for your files. By following these steps, you can successfully replace your old drive with a new one, whether you’re upgrading to an SSD or simply increasing capacity. Remember to back up your data, choose the right drive, and carefully follow the installation process to ensure a smooth upgrade.


Post Comment