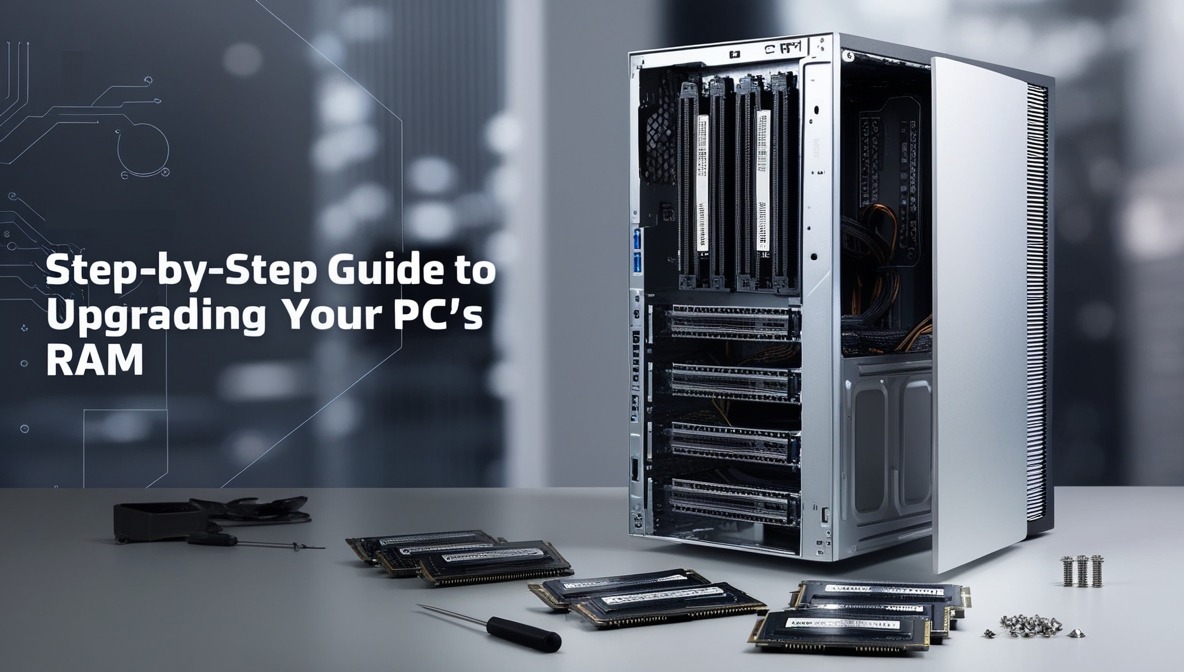
Step-by-Step Guide to Upgrading Your PC’s RAM
Upgrading your PC’s RAM (Random Access Memory) is one of the most effective ways to improve its performance, especially if you frequently multitask or run memory-intensive applications. This guide will walk you through the steps needed to upgrade your PC’s RAM, from selecting the right type of RAM to installing it in your system.
Understanding RAM: What You Need to Know
Why Upgrade Your RAM?
RAM is a critical component that affects the speed and responsiveness of your computer. If your PC is slow when running multiple applications, upgrading your RAM can provide a significant performance boost. Similarly, if you’re running out of space, you might want to consider upgrading laptop storage for improved overall performance.
Types of RAM
Before purchasing new RAM, you need to know what type of RAM is compatible with your PC. The most common types include DDR3, DDR4, and the latest DDR5. It’s essential to check your motherboard’s specifications to determine which type of RAM it supports.
How Much RAM Do You Need?
The amount of RAM you need depends on your usage. For general tasks like web browsing and word processing, 8GB of RAM is usually sufficient. However, for gaming, video editing, or other intensive tasks, 16GB or more is recommended. If you’re planning to build a custom gaming PC, you might want to consider even higher RAM capacities for the best performance.
Preparing for the Upgrade
Check Your PC’s Compatibility
Before buying new RAM, ensure your motherboard has available slots and can support the amount of RAM you intend to install. You can check this in your PC’s manual or by looking up your motherboard model online.
Backup Your Data
While upgrading RAM is a relatively safe process, it’s always a good idea to back up your data before making any hardware changes, just in case something goes wrong.
Gather Your Tools
You’ll need a few tools for this upgrade, primarily a Phillips-head screwdriver. Additionally, ensure you’re working in a static-free environment to prevent damage to your components.
Purchasing the Right RAM
Choose the Right Size and Speed
RAM comes in various sizes and speeds. It’s important to match the new RAM with your existing RAM in terms of speed (measured in MHz) to avoid compatibility issues. Also, make sure the total amount of RAM does not exceed your motherboard’s maximum supported capacity.
Consider the Brand and Warranty
While there are many RAM manufacturers, it’s wise to choose a reputable brand that offers a warranty. Reliable brands include Corsair, Kingston, Crucial, and G.Skill.
Installing the RAM: A Step-by-Step Process
Step 1: Power Down and Unplug Your PC
Start by shutting down your PC and unplugging it from the power source. This step is crucial to avoid any electrical damage during the upgrade process.
Step 2: Open Your PC Case
Using your screwdriver, remove the screws holding the side panel of your case. Slide the panel off to access the internal components of your PC.
Step 3: Ground Yourself
Before touching any internal components, ground yourself to prevent static electricity from damaging your PC. You can do this by touching a metal part of your case or using an anti-static wrist strap.
Step 4: Locate the RAM Slots
The RAM slots are usually located near the CPU on the motherboard. If you already have RAM installed, you’ll see them occupying these slots. If you’re adding additional RAM, locate the empty slots.
Step 5: Remove Existing RAM (If Necessary)
If you need to remove existing RAM sticks, gently press down on the clips at either end of the RAM slot. The stick should pop up slightly, allowing you to remove it.
Step 6: Install the New RAM
Align the notch on the RAM stick with the ridge in the RAM slot. Carefully insert the RAM into the slot at a 90-degree angle, pressing down firmly until you hear the clips snap into place. Repeat this process for any additional RAM sticks.
Step 7: Close the Case and Reconnect Power
Once the RAM is securely installed, replace the side panel of your PC case and screw it back into place. Then, reconnect your PC to the power source.
Verifying the Upgrade
Step 8: Power On Your PC
Turn on your PC and listen for any unusual beeps. If your PC fails to boot or you hear a series of beeps, the RAM may not be installed correctly, and you’ll need to reseat it.
Step 9: Check System Information
Once your PC boots up, check if the system recognizes the new RAM. On Windows, you can do this by going to “System Information” or “Task Manager” under the “Performance” tab to view the total installed RAM.
Step 10: Run a Memory Test
For added assurance, run a memory test using built-in tools like Windows Memory Diagnostic or third-party software like MemTest86 to ensure the new RAM is functioning correctly.
Conclusion
Upgrading your PC’s RAM is a straightforward process that can significantly enhance your system’s performance. By following this step-by-step guide, you can confidently install new RAM and enjoy a smoother, faster computing experience.


Post Comment