How to Set Up a Home Server for Data Storage [DIY Guide]
Setting up a home server for data storage allows you to centralize your files, improve accessibility, and enhance security without relying on external cloud services. By following this guide, you can build a reliable storage solution tailored to your needs.
Benefits of a Home Server
- Centralized data storage.
- Customizable security measures.
- Cost savings over time compared to cloud subscriptions.
- Complete control over your data.
Step-by-Step Guide
1. Plan Your Requirements
Determine the purpose of your server. Will it store media, backups, or shared files? Assess your storage needs in terabytes (TB) and consider scalability for future use. Ensure you have a dedicated space for the hardware with proper ventilation.
2. Gather Hardware Components
You don’t need high-end equipment for a home server. Here’s what you’ll need:
- Computer or Server Case: An old PC or a small dedicated server like a NAS device.
- Hard Drives: Choose high-capacity HDDs or SSDs with RAID support for redundancy.
- Power Supply: Ensure compatibility with your hardware.
- Cooling System: Prevent overheating, especially for long operation periods.
- Network Equipment: A reliable router, Ethernet cables, and potentially a network switch.
3. Choose an Operating System
Select an operating system that fits your technical expertise:
- Windows: User-friendly, supports file sharing via SMB.
- Linux (e.g., Ubuntu Server): Flexible, open-source, and free.
- FreeNAS or TrueNAS: Designed specifically for storage with ZFS file system support.
4. Assemble the Server
- Install the hardware components in the server case.
- Connect the hard drives securely and set up any desired RAID configuration.
- Attach network cables and connect the server to your router.
5. Install the Operating System
Use a bootable USB drive to install the operating system. Follow on-screen prompts to configure basic settings, including hostname, username, and password. Ensure you enable network settings during installation.
6. Configure Network Settings
Assign your server a static IP address for consistent access. Log into your router settings and use the “IP Reservation” feature to bind the server’s MAC address to a specific IP. If you’re wondering, “what is my IP address” you can find it in the router’s DHCP settings.
7. Set Up File Sharing
Enable file sharing to make the server accessible from other devices:
- Windows: Configure shared folders and set user permissions.
- Linux: Use Samba (SMB) for file sharing with Windows machines or NFS for Linux devices.
- NAS Systems: Use their built-in interfaces for seamless configuration.
8. Enhance Security
- Enable a Firewall: Block unauthorized access.
- Use Strong Passwords: Avoid weak or easily guessable credentials.
- Regular Updates: Keep your operating system and software up to date.
- Remote Access VPN: Limit external access through a secure VPN connection.
9. Automate Backups
Set up automated backups to ensure critical data isn’t lost. Tools like rsync or third-party backup solutions can help keep your files safe and up to date.
10. Test Your Server
- Connect from a client device using the server’s static IP.
- Test file transfer speeds and access permissions.
- Resolve any connectivity or configuration issues.
Optional Add-Ons
- Media Server: Install Plex or Jellyfin to stream videos and music.
- Web Server: Host websites using Apache or Nginx.
- Cloud Sync: Integrate with tools like Nextcloud for personal cloud storage.
Maintenance Tips
- Monitor disk health using SMART tools.
- Regularly clean dust from hardware components.
- Expand storage as needed without disrupting current configurations.
Final Word
With a home server in place, you’ll gain control, flexibility, and peace of mind knowing your data is stored securely. Following these steps ensures a robust solution tailored to your needs.
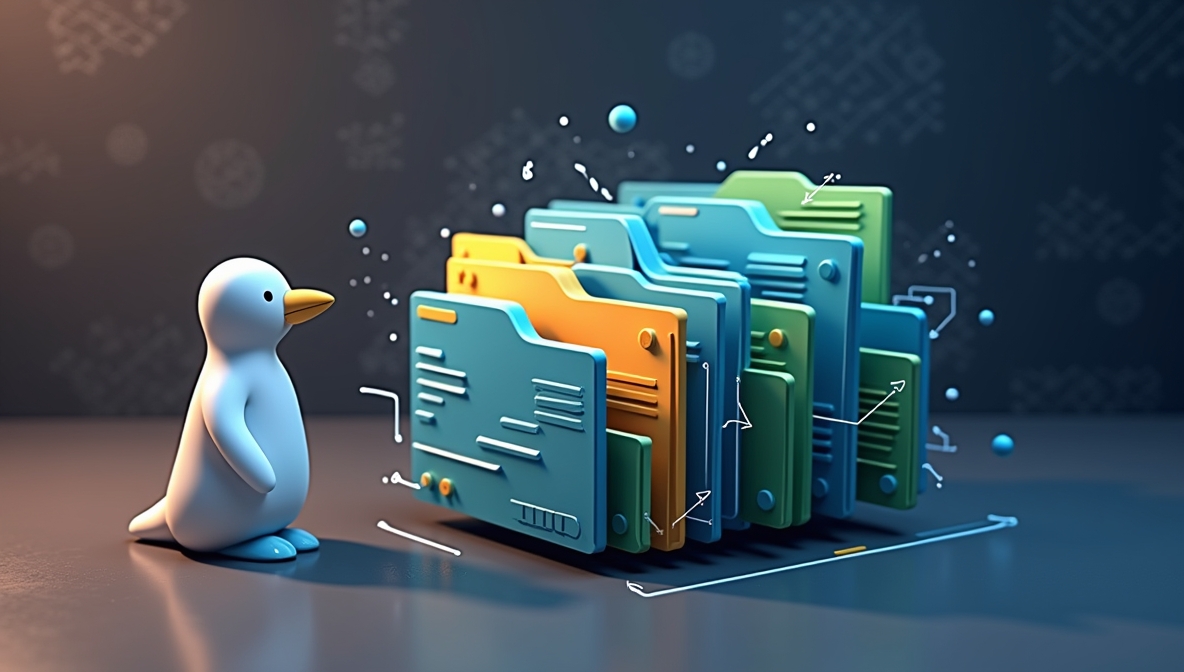
![How to Set Up a Home Server for Data Storage [DIY Guide]](https://cfreaks.com/wp-content/uploads/2024/11/How-to-Set-Up-a-Home-Server-for-Data-Storage-DIY-Guide.jpg)


Post Comment