How to Build Your Own Custom Gaming PC
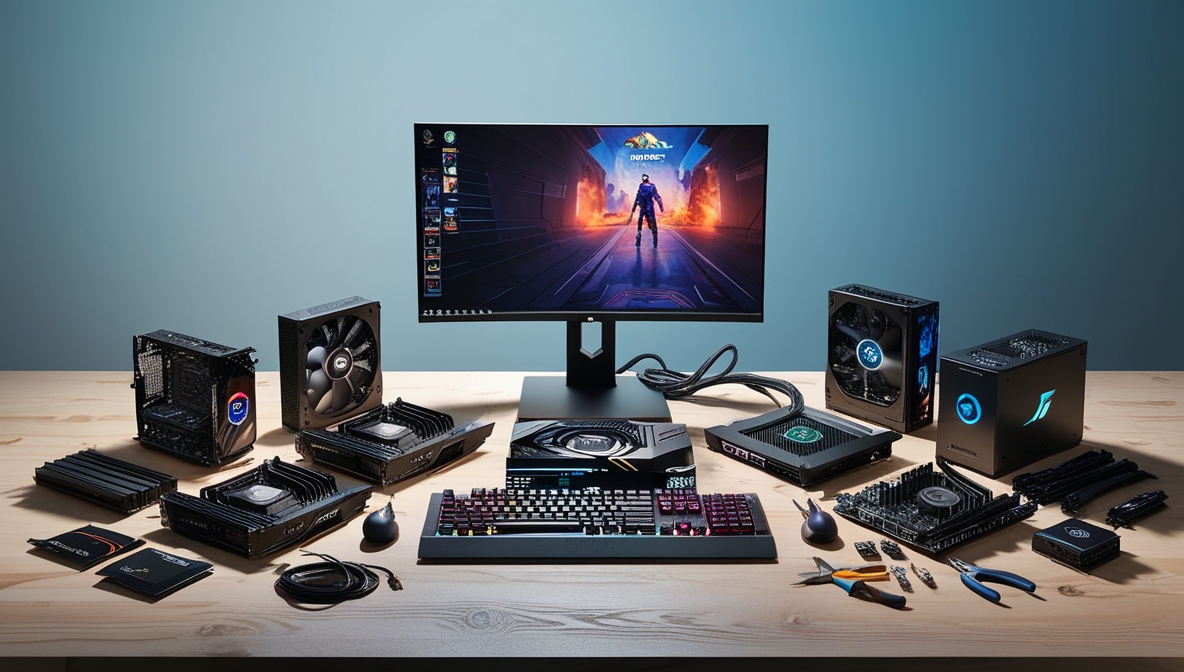
Building your own custom gaming PC is a rewarding experience that allows you to tailor a system to your specific needs, preferences, and budget. Whether you’re aiming for a high-performance machine capable of running the latest games at maximum settings or a budget-friendly rig that offers great value, this guide will walk you through the essential steps to build your own custom gaming PC.
Planning Your Build: What You Need to Consider
Define Your Budget
Before you start picking out components, it’s crucial to set a budget. Knowing how much you’re willing to spend will help you make informed decisions about which parts to prioritize. Your budget will determine the quality of components and the overall performance of your gaming PC.
Determine Your Gaming Needs
What kind of games do you plan to play? Are you looking for a system that can handle AAA titles at ultra settings, or are you more interested in casual gaming? Understanding your gaming needs will guide your choices for key components like the CPU, GPU, and RAM.
Future-Proofing
Consider how long you want your gaming PC to last before needing significant upgrades. Investing in slightly better components now can save you money in the long run by delaying the need for future upgrades. Additionally, if you’re considering expanding your system’s functionality later on, you can use the extra storage and computing power to build a home media server for your entertainment needs.
Choosing the Right Components
Central Processing Unit (CPU)
The CPU is the brain of your gaming PC, and it’s essential to choose one that can handle your gaming and multitasking needs. For most gamers, an Intel Core i5 or AMD Ryzen 5 will offer a good balance of performance and price. However, if you’re looking for top-tier performance, consider an Intel Core i7/i9 or AMD Ryzen 7/9.
Graphics Processing Unit (GPU)
The GPU is arguably the most critical component for a gaming PC, as it directly affects your gaming experience. NVIDIA and AMD are the leading brands in the GPU market. NVIDIA’s GeForce RTX series and AMD’s Radeon RX series offer excellent performance for a range of budgets. Be sure to check benchmarks for the games you want to play to ensure your chosen GPU can handle them at your desired settings.
Memory (RAM)
RAM is vital for smooth gaming performance. 16GB of DDR4 RAM is the current standard for most gaming builds, providing a good balance between cost and performance. If you’re into content creation or heavy multitasking, consider 32GB for added flexibility. If you’re running low on memory, upgrading PC RAM can significantly improve multitasking and performance, especially in demanding games or content creation tasks.
Storage: SSD vs. HDD
When considering storage options, an SSD vs. HDD comparison is essential for understanding the trade-offs in speed, price, and capacity. An SSD (Solid State Drive) is a must for faster load times and overall system responsiveness. A 500GB or 1TB SSD should be sufficient for most users. You can also add a larger HDD (Hard Disk Drive) for additional storage if needed.
Motherboard
Your motherboard must be compatible with your chosen CPU and GPU, as well as any other peripherals you plan to add. Look for a motherboard that offers the features you need, such as USB ports, Wi-Fi, Bluetooth, and multiple PCIe slots for future upgrades.
Power Supply Unit (PSU)
A reliable PSU is crucial for ensuring your system runs smoothly. It’s important to choose a PSU that provides enough wattage for your components. Generally, a 650W to 750W PSU will be sufficient for most builds, but make sure to calculate the total power consumption of your components before purchasing.
Cooling System
Keeping your components cool is vital for maintaining performance and extending their lifespan. Consider whether you’ll use air cooling or liquid cooling. High-end builds or overclocked systems often benefit from liquid cooling, while air cooling is sufficient for most mid-range setups.
Case
Choose a case that accommodates all your components and offers good airflow. Cases come in various sizes (ATX, Micro-ATX, Mini-ITX), so ensure it fits your chosen motherboard and has enough space for your GPU and cooling system.
Assembling Your Gaming PC
Preparation
Before you start assembling, gather all the necessary tools, such as a screwdriver, and ensure you have a clean, static-free workspace. Carefully read the manuals for each component to familiarize yourself with the installation process.
Step-by-Step Assembly
- Install the CPU: Begin by installing the CPU onto the motherboard, following the instructions carefully to avoid damaging the delicate pins.
- Attach the CPU Cooler: Depending on your cooling choice, attach the air cooler or liquid cooler to the CPU.
- Insert the RAM: Install the RAM sticks into the appropriate slots on the motherboard, ensuring they click into place.
- Mount the Motherboard: Secure the motherboard into the case using screws, making sure it’s aligned correctly with the case’s mounting points.
- Install the GPU: Insert the GPU into the PCIe slot on the motherboard and secure it with screws.
- Connect Storage: Attach your SSD or HDD to the motherboard and secure it within the case.
- Connect the PSU: Install the PSU into the case and connect all necessary power cables to the motherboard, GPU, and storage devices.
- Install Additional Cooling: If you have extra fans or a liquid cooling system, install them now.
- Cable Management: Neatly route all cables to ensure good airflow and avoid clutter inside the case.
- Final Checks: Double-check all connections and ensure everything is securely in place before powering on your PC.
Installing the Operating System and Drivers
Once your PC is assembled, the next step is to install the operating system (OS). Most gamers choose Windows 10 or 11 for its compatibility with a wide range of games. After installing the OS, download and install the latest drivers for your GPU, motherboard, and other peripherals to ensure optimal performance.
Testing and Tweaking Your System
First Boot
Power on your system and enter the BIOS/UEFI to check that all components are recognized. Adjust any necessary settings, such as enabling XMP for your RAM, and then proceed to boot into your OS.
Benchmarking and Stress Testing
Use benchmarking tools to test the performance of your CPU and GPU. Stress testing software can also help ensure your system remains stable under load. If you encounter any issues, revisit your BIOS settings or consider reseating your components.
Overclocking (Optional)
For advanced users, overclocking your CPU or GPU can squeeze extra performance out of your system. However, this comes with increased power consumption and heat, so ensure your cooling solution is adequate before attempting overclocking.
Conclusion
Building your own custom gaming PC is an exciting and rewarding process that allows you to create a system tailored to your gaming needs. By carefully selecting components, following the assembly steps, and properly configuring your system, you can enjoy a powerful and personalized gaming experience.


Post Comment